How to Design a Room – A Step-by-Step Guide to Creating Your Perfect Space
Designing a room from scratch or revamping an existing one can feel like a daunting task, but with the right approach, it can be an exciting and rewarding process. Whether you’re working with a small bedroom, a spacious living room, or a multi-functional home office, creating a space that reflects your personal style and meets your needs is completely achievable.
In this step-by-step guide, we’ll walk you through the essential stages of designing your room, ensuring it’s both functional and aesthetically pleasing. Let’s get started!
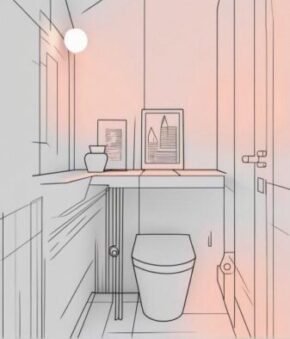
Step 1: Define Your Room’s Purpose
Before you dive into picking out furniture or selecting a colour palette, the first thing you need to do is determine the purpose of the room. What is the room primarily used for? Is it a relaxation space, a home office, a dining area, or a guest room?
Clearly defining the purpose will help shape the rest of the design decisions, from layout and furniture choices to colour schemes and decorative elements. For example, a living room might require comfortable seating and lighting for entertainment, while a home office will need ergonomic furniture and a functional layout for productivity.
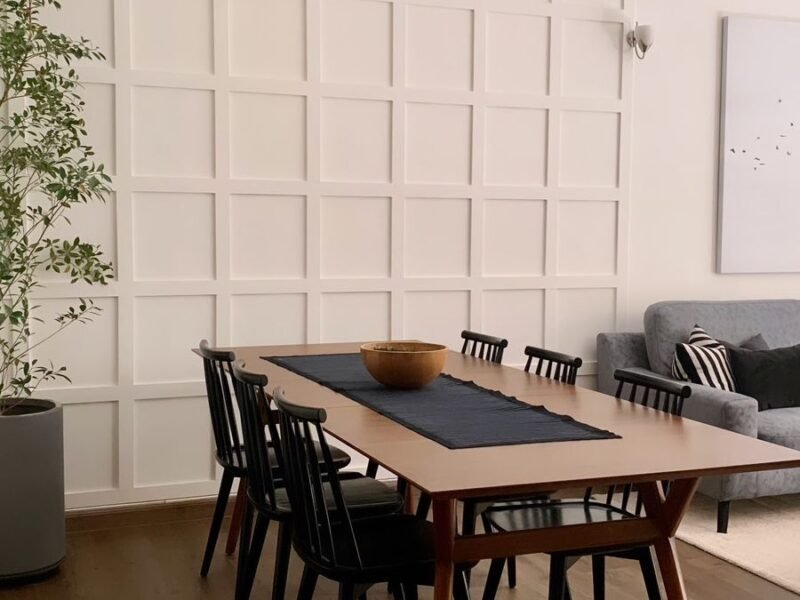
Step 2: Assess the Room’s Size and Layout
Next, measure the room’s dimensions. Knowing the size of your space will guide your decisions on furniture scale, layout, and the flow of the room. Use a tape measure or a room-planning app to get accurate measurements of walls, windows, doors, and ceiling height. This will help you avoid buying furniture that’s too big or too small for the space.
Consider the room’s layout and how people will move through the space. Aim for a layout that ensures good flow, leaving enough space between furniture for comfortable movement. Whether you’re creating a conversational seating area or setting up a functional workspace, a well-thought-out layout is key to a successful design.
Step 3: Choose Your Colour Scheme
Colour has the power to set the tone of a room, so choosing the right palette is essential. When selecting a colour scheme, consider both the function of the room and the mood you want to create. Lighter colours such as whites, creams, and pastels can make a room feel larger and brighter, while darker tones like navy blue, charcoal, or deep green create a more intimate, cosy atmosphere.
For a balanced look, start with neutral tones for walls and larger furniture pieces, and then add pops of colour with accessories like cushions, rugs, and artwork. Don’t forget about accent walls or colour blocking, which can add visual interest and depth to the room.
Step 4: Select Key Furniture Pieces
Once you have your measurements and colour palette in place, it’s time to choose the main furniture pieces. Focus on investing in quality items that will last, such as a comfortable sofa, a sturdy dining table, or a practical desk.
When selecting furniture, ensure it fits both the scale and purpose of the room. For example, in a small room, opt for multi-functional furniture that saves space, such as a sofa bed or a coffee table with storage. For a larger room, you can afford to invest in larger statement pieces.
Also, consider the style of furniture that complements the overall aesthetic. Whether you prefer modern, minimalist, rustic, or eclectic, your furniture should align with the overall look you want to achieve.
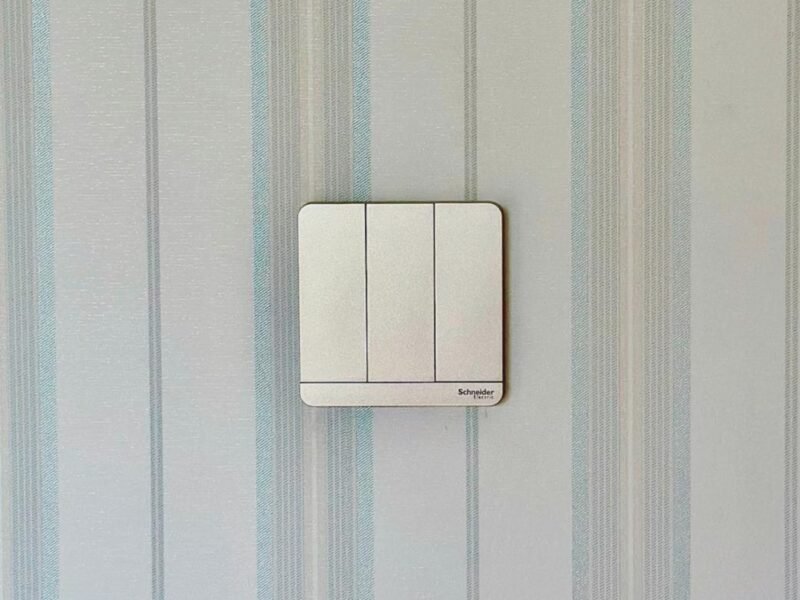
Step 5: Add Lighting Layers
Lighting plays a crucial role in creating ambiance and functionality in a room. A combination of ambient, task, and accent lighting is ideal for most spaces. Ambient lighting is your primary source of light (think overhead lights or recessed lighting), while task lighting focuses on specific activities, such as reading lamps or kitchen task lights. Accent lighting highlights artwork or architectural features to create drama.
Consider using dimmable lights or smart lighting for more flexibility, allowing you to adjust the brightness depending on the time of day or activity. Layering your lighting creates depth and warmth, making the room feel more inviting and comfortable.
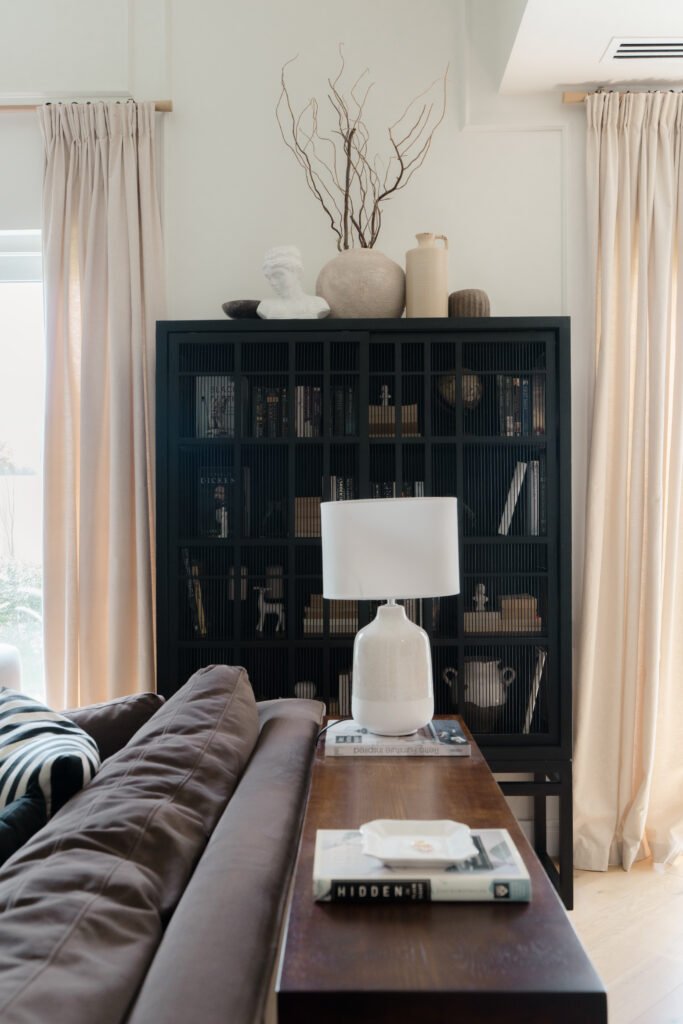
Step 6: Add Storage Solutions
Even the most beautifully designed spaces need to be functional, and storage plays a key role in keeping a room organised and clutter-free. Incorporating stylish storage solutions, such as built-in shelves, cabinets, or storage ottomans, will help keep things tidy while adding to the design.
Think about hidden storage that blends seamlessly into your design—like a bed with built-in drawers or a coffee table with extra storage space. If space allows, try to include areas for both open and closed storage to accommodate a variety of items while maintaining a neat appearance.
Step 7: Incorporate Personal Touches
This is where the room starts to truly reflect your style. Add personal touches such as artwork, decorative objects, throw pillows, or family heirlooms that speak to your personality and interests. Accessories like vases, books, and plants can make a space feel lived-in and welcoming.
Don’t be afraid to mix textures and materials, such as soft fabrics with metal or wood, to create depth and visual interest. Personalisation is what will set your space apart and make it feel uniquely yours.
Step 8: Layer with Textiles and Accessories
Textiles—such as rugs, curtains, throw blankets, and cushions—are an excellent way to introduce colour, texture, and warmth to a room. Rugs not only help define different areas of the room but also add comfort, while curtains can bring in softness and a sense of luxury.
Layering textures is key to making a room feel inviting and cosy. Combine soft fabrics like velvet, linen, or cotton with harder materials like glass, wood, or metal to create balance and interest.
Step 9: Maintain Consistency and Flow
As you add different elements to the room, remember that consistency and flow are key. Each element should feel connected, whether through colour, material, or theme. This doesn’t mean everything has to match perfectly, but rather that there’s a sense of cohesion throughout the space.
When mixing different styles or furniture pieces, aim for balance and harmony by tying them together with a consistent colour palette or material choices. The room should feel like one unified space, with each element complementing the other.
Step 10: Take a Step Back and Adjust
Once everything is in place, take a step back and assess the overall design. Sometimes, the smallest adjustments—like shifting a chair, moving a piece of artwork, or tweaking the lighting—can make a big difference. Don’t be afraid to rearrange or add finishing touches until the room feels just right.
Conclusion: Designing Your Dream Room
Designing a room doesn’t need to be an overwhelming process. By following these simple steps—defining the purpose, assessing size and layout, selecting colours and furniture, and adding personal touches—you’ll be able to create a space that’s not only beautiful but also functional.
Remember, the key to great design is balance, and with careful thought and planning, you can design a room that perfectly fits your needs and style. Happy designing!
Need help bringing your vision to life? Contact us today for expert design advice and services to create the perfect space for you.